I wonder some days how I got to where I am. I know I am crazy because being a full time student and having 3 children and a house, I feel like sometimes the world is about to come crashing down on my head.
But tonight I was reminded of how I got here, how I learned who I was and what I wanted to do and setting that example for my children. I really owe a bit to my very patient husband, but a big part to Mary Jane Butters and everyone over at the Farm
(click here). If you don't know what MJF is I recommend looking into it. I adore everyone in the forums and their wonderful advice. My favorite was the badges, I loved earning them and I did my best at them. I even was the farm girl of the year for 2012.
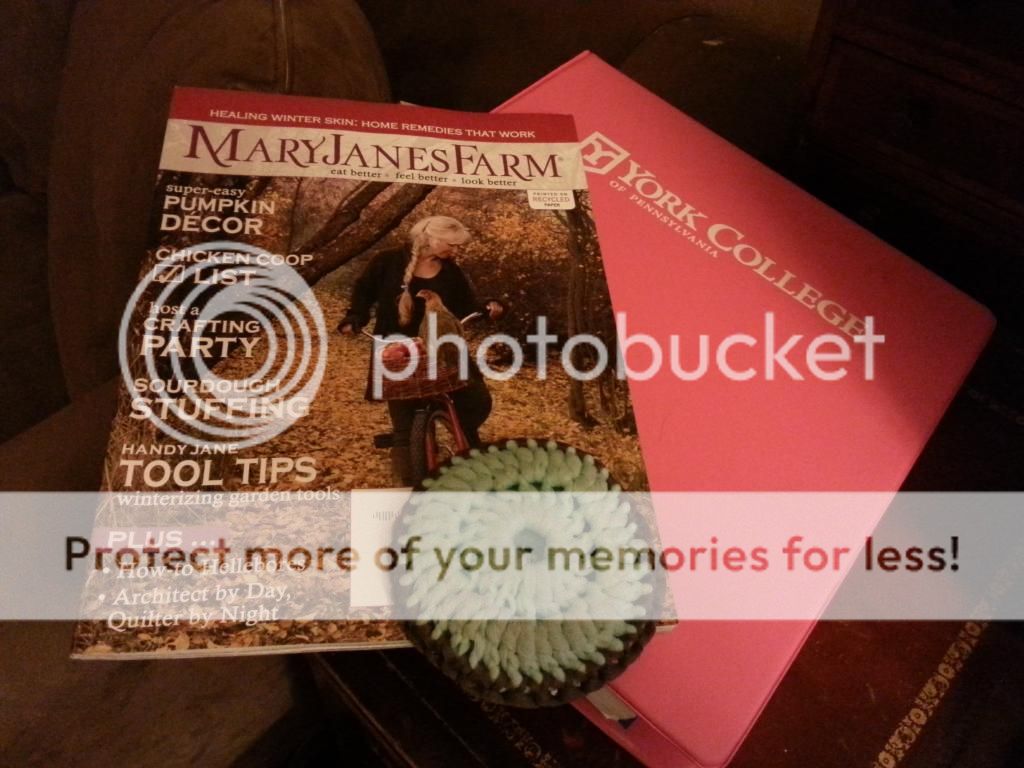
So tonight I was scrambling between outlining chapters of Principles of Management, Statistics 2, and a touch of learning to speak German. I felt a heaviness in my heart. After getting 2 out of 3 kids to bed I pulled out the latest issue of Mary Jane Farm.
As the baby ran (yes run, he started walking over the summer) around the coffee table, I was able to take in some of the articles. The issue was heavily dedicated to bread. Coincidentally I had made two loaves of Apple Bread earlier today. It reminded me of my early days "on the farm forums". We were going through a financial setback at my house and we didn't have enough money to buy bread, not to mention the extra cost in gas to travel the 20 minutes to Walmart.
So after a few interesting posts to read I decided, I could do that, and thus was my first homemade batch of bread.
It is amazing in my time as a dedicated farmgirl what I learned. For example last week I had some berries on the verge of going bad that I tossed into a pan with some sugar and made about 1/2 cup of jam. Not for any reason other than Mary Jane taught me how to not waste things. In the early summer I was able to collect raspberries from my bushes, nearly 2 pints. I was elated at them, they never made it to jam. Between learning to can applesauce, and then teaching my city mother, to saving my cranberry sauce a few years ago on Thanksgiving.
As for my etsy shop, that started off as a merit badge, and now is a full job too. It does even contribute a nice little slice to my household budget. Mary Jane taught me how to pay for my books this semester.
Even blogging is a merit badge.
I was a very lost woman in 2009 when I discovered Mary Jane's Farm. Through everyone in the chatrooms and alot of learning, my life is moving forward. As difficult some days are to juggle everything, I would probably be just as lost as I was if I had not found Mary Jane and her Farm.
So this is my formal Thank You to everyone on the boards and at the Farm and especially to Mary Jane helping me and my family, in so many ways that I can't even count.